
Google Analytics 4 is now available which has deeper insights, enhancements on data collection, machine learning and more. Google is recommending creating this new property to run in parallel with your current Google Analytics implementation as although the older implementation will be available (for now), Google Analytics 4 will be the focus for new enhancements. Let’s walk through the 10 steps needed to set up the new property.
Start by logging into your current Google Analytics account. Once you have logged in, go to the gear icon located in the bottom left corner of the navigation labeled “Admin”. Click “Create Account”.

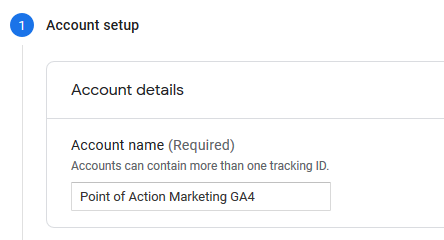
You will then be taken to a page to start your Account Setup and you will need to add in a name of the account. This is what will show in the left rail when you login to chose your account. We would suggest having a naming convention such as “Company Name GA4” to separate it from your previous analytics implementation. You will also have the chose in this step to chose whether you wish to share your data with Google.
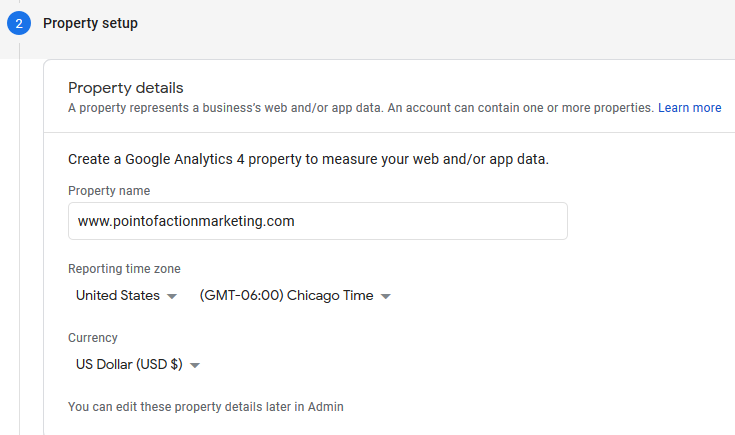
Enter your Property name which typically is your website domain name. Make sure you also check the Reporting Time Zone and change it to your business location. If you have multiple locations, you may wish to set this to where your headquarters is located.
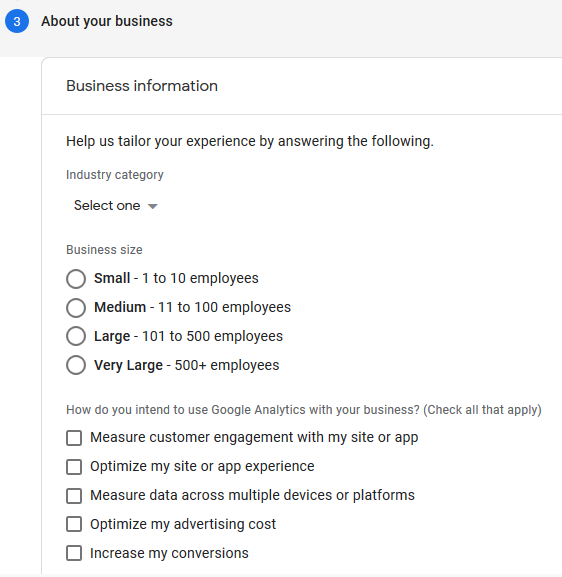
For this next section you will have questions to answer about your business such as Industry Category, Business Size and How you intend to use Google Analytics.
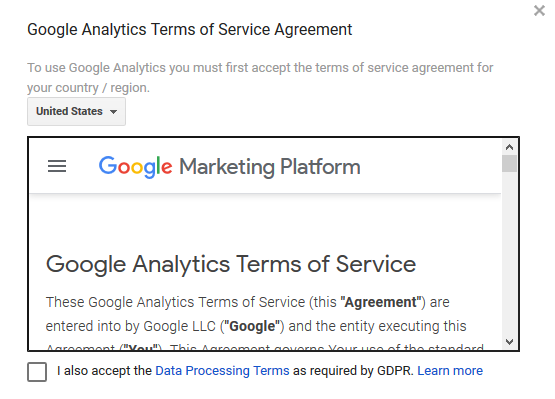
Read through this next section of information regarding Google Analytics Terms of Service and if you agree, make sure to mark the checkboxes (there is more than 1).
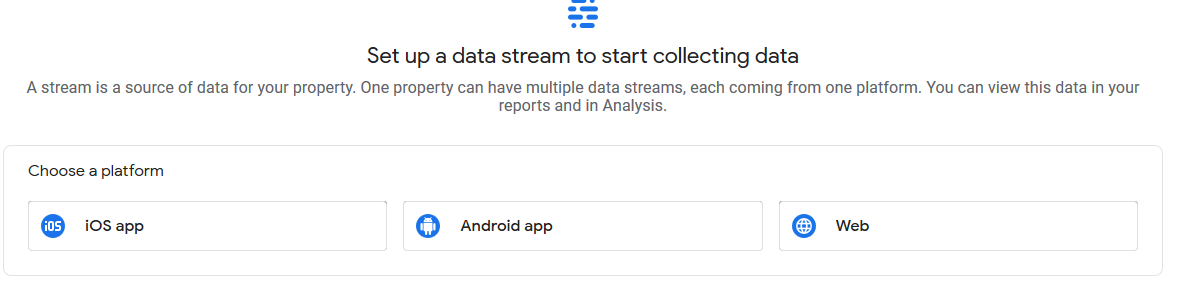
Next you will need to chose a data stream so you will need to select the platform you are wishing to collect data from such as an app or website.
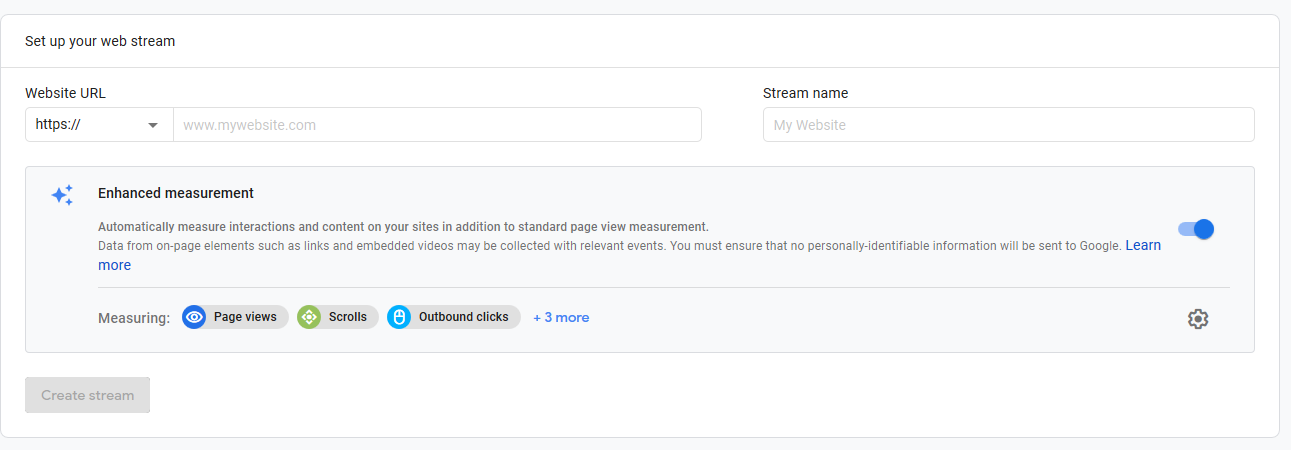
For this blog, we are assuming you are setting up a web stream. Enter your URL, but also make sure the prefix (https://) matches what your website uses and also add in the name. To automatically measure different interactions click on the gear icon and make sure all interactions you wish to measure are checked.
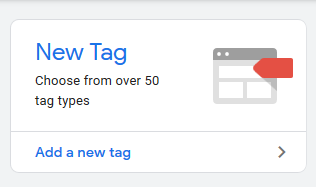
After step 7, you should have been taken to a page that notes your Measurement ID. You will need that ID for this next step so copy that ID so that you have it and go to your Google Tag Manager account. Once you have logged into your Google Tag Manager account, proceed to clicking on “Add a new tag”.
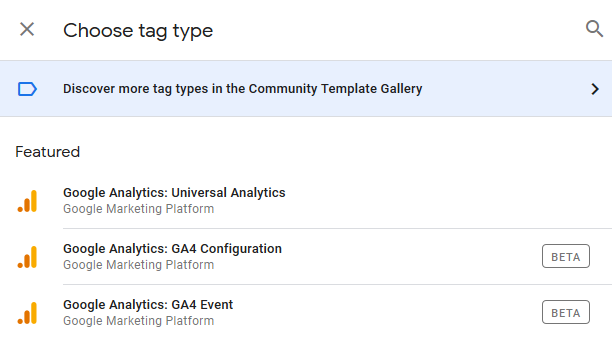
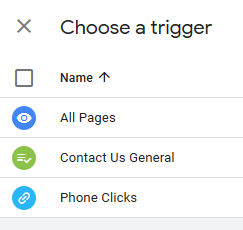
You will now need to choose a tag type so select “Google Analytics: GA4 Configuration”. We will review “Google Analytics: GA4 Event” setup in another blog. You will need to now copy that Measurement ID into that Tag and then add a trigger for “All Pages”.
Don’t forget to Publish your changes in Google Tag Manager. You may wish to use the preview function before publishing or you can publish and verify setup by going to your own website and then in a separate tab go to your new Google Analytics 4 Property and view the Real Time Reports.
You have now successfully created the basic Google Analytics 4 setup. Follow us on Instagram or Facebook to stay up to date on future blogs on how to create custom events in Google Analytics 4 and new features to take advantage of.